
Picture this: Ethereum is hovering at $2,280.07 after a 2.63% dip in the last 24 hours, yet its Layer 2 solutions like Arbitrum One keep delivering lightning-fast transactions at a fraction of the cost. If you're a beginner eyeing arbitrum metamask setup, getting your beginner arbitrum wallet right from the start is crucial. I've managed portfolios through wild swings, and nothing beats a solid metamask l2 onboarding process to unlock low fees and high speed without the headaches.
Arbitrum One stands out because it scales Ethereum seamlessly, letting you swap, stake, or lend with gas fees often under a penny. But first things first; you need a reliable wallet. MetaMask is the gold standard for safe arbitrum wallet config, supporting custom networks like Arbitrum One RPC add effortlessly. Let's dive into the exact steps that have onboarded countless users securely.
Step 1: Install MetaMask and Create Secure Wallet
Head straight to the official site, metamask. io, and grab the browser extension for Chrome, Firefox, or Brave; avoid mobile for now if you're new, as extensions are simpler for desktop dApps. Click download, add to your browser, and pin it to your toolbar. Upon opening, you'll see the welcome screen; select "Create a new wallet. "
Here's where security kicks in: MetaMask generates a 12-word seed phrase. Write it down on paper, store it offline in a safe spot, never screenshot or type it digitally. Confirm the phrase by re-entering select words, set a strong password, and boom, your wallet is live on Ethereum Mainnet by default. Pro tip from my multi-chain strategies: treat that seed like your house keys; exposure means total loss.
Unlock Arbitrum Magic: MetaMask Setup for Beginners

This foundation ensures your beginner arbitrum wallet is fortified before adding L2 magic. I've seen folks skip backups and regret it during volatility spikes, like ETH's recent swing from $2,351.34 high to $2,115.33 low. Take five minutes here; it'll pay off.
Step 2: Add Arbitrum One Network via ChainList
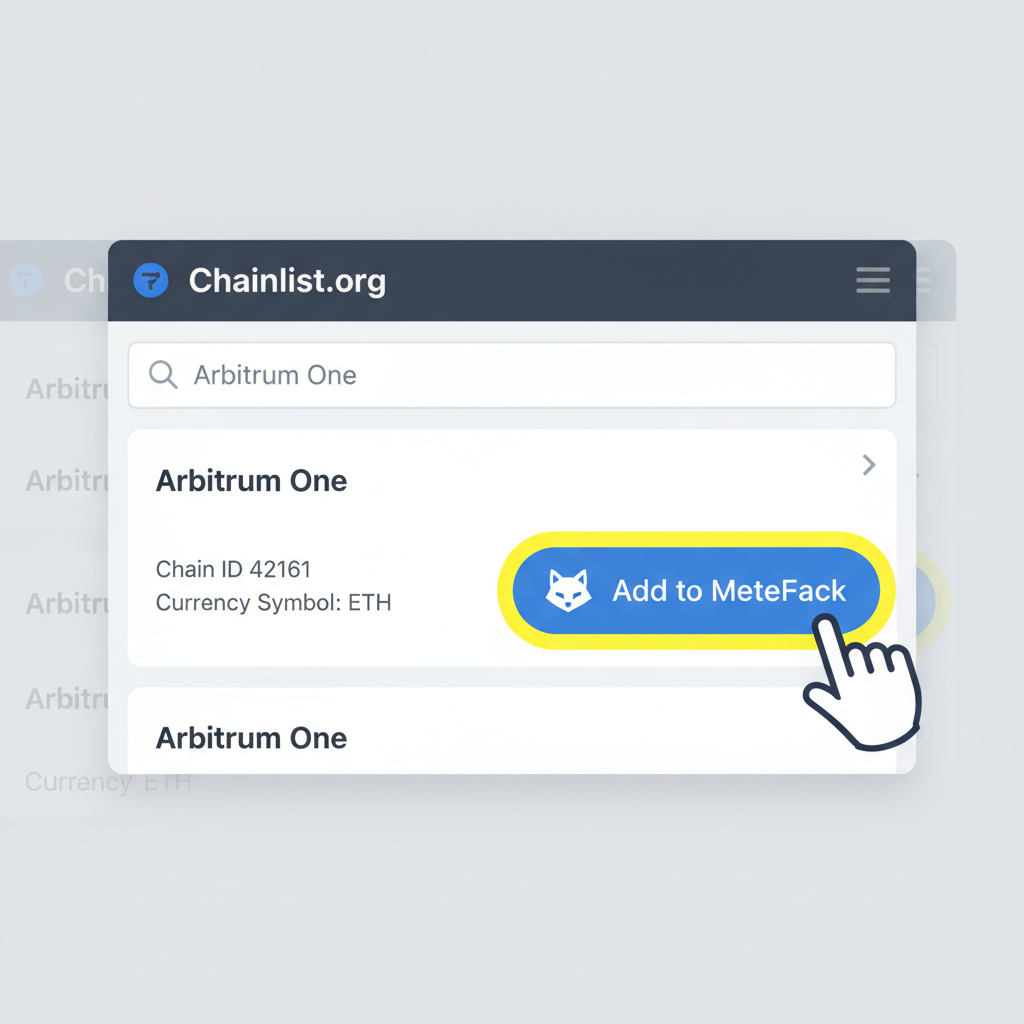
With MetaMask humming, time to layer on Arbitrum. Forget manual RPC tinkering that risks errors; ChainList is the vetted way for arbitrum one rpc add. Fire up chainlist. org in a new tab, connect your MetaMask by clicking "Connect Wallet" top right, then search "Arbitrum One. " It's Chain ID 42161, official RPC at https://arb1.arbitrum.io/rpc.
Spot it? Click the blue "Add to MetaMask" button, approve the popup in your wallet, and watch it auto-configure Network Name: Arbitrum One, Currency Symbol: ETH, Block Explorer: arbiscan. io. Switch networks in MetaMask's dropdown; Arbitrum One joins Ethereum Mainnet. Verify by refreshing; no balance yet, but you're connected.
This method beats scattered tutorials because ChainList verifies RPCs community-wide, dodging phishing pitfalls. In my experience diversifying L2 exposure, accurate setup prevents 90% of newbie frustrations. Your wallet now speaks Arbitrum fluently, ready for funding.
Bridging Funds: Your Gateway to Arbitrum Action
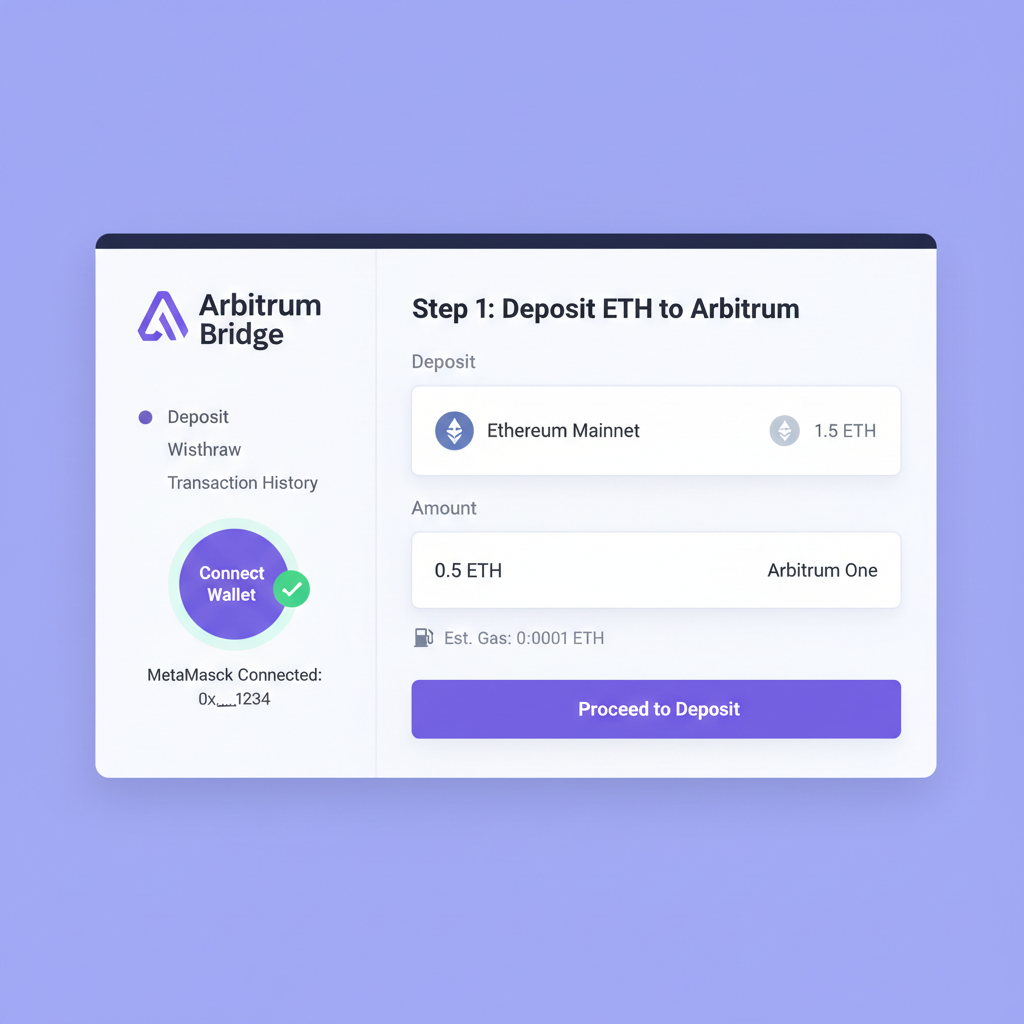
MetaMask alone won't cut it; Arbitrum needs funded assets. Official bridge. arbitrum. io is the secure path for step 3. Switch MetaMask to Ethereum Mainnet, connect wallet on the bridge site, deposit ETH or ERC20 tokens during low gas windows (check etherscan. io gas tracker). Expect 10-minute confirmations as challenge periods finalize.
Start small, say $50 in ETH at today's $2,280.07 rate, to test waters. I've bridged millions across chains; patience here avoids overpaying fees when ETH volatility tempts rushed moves.
Enter the amount, approve the transaction in MetaMask (gas fees apply on Ethereum side), and hit deposit. The bridge locks your ETH on mainnet, minting equivalent on Arbitrum after a ~10-minute challenge period. Track progress on the bridge dashboard or Arbiscan; once confirmed, switch back to Arbitrum One in MetaMask, and voila, balance appears. This metamask l2 onboarding ritual transforms your beginner arbitrum wallet from spectator to player.
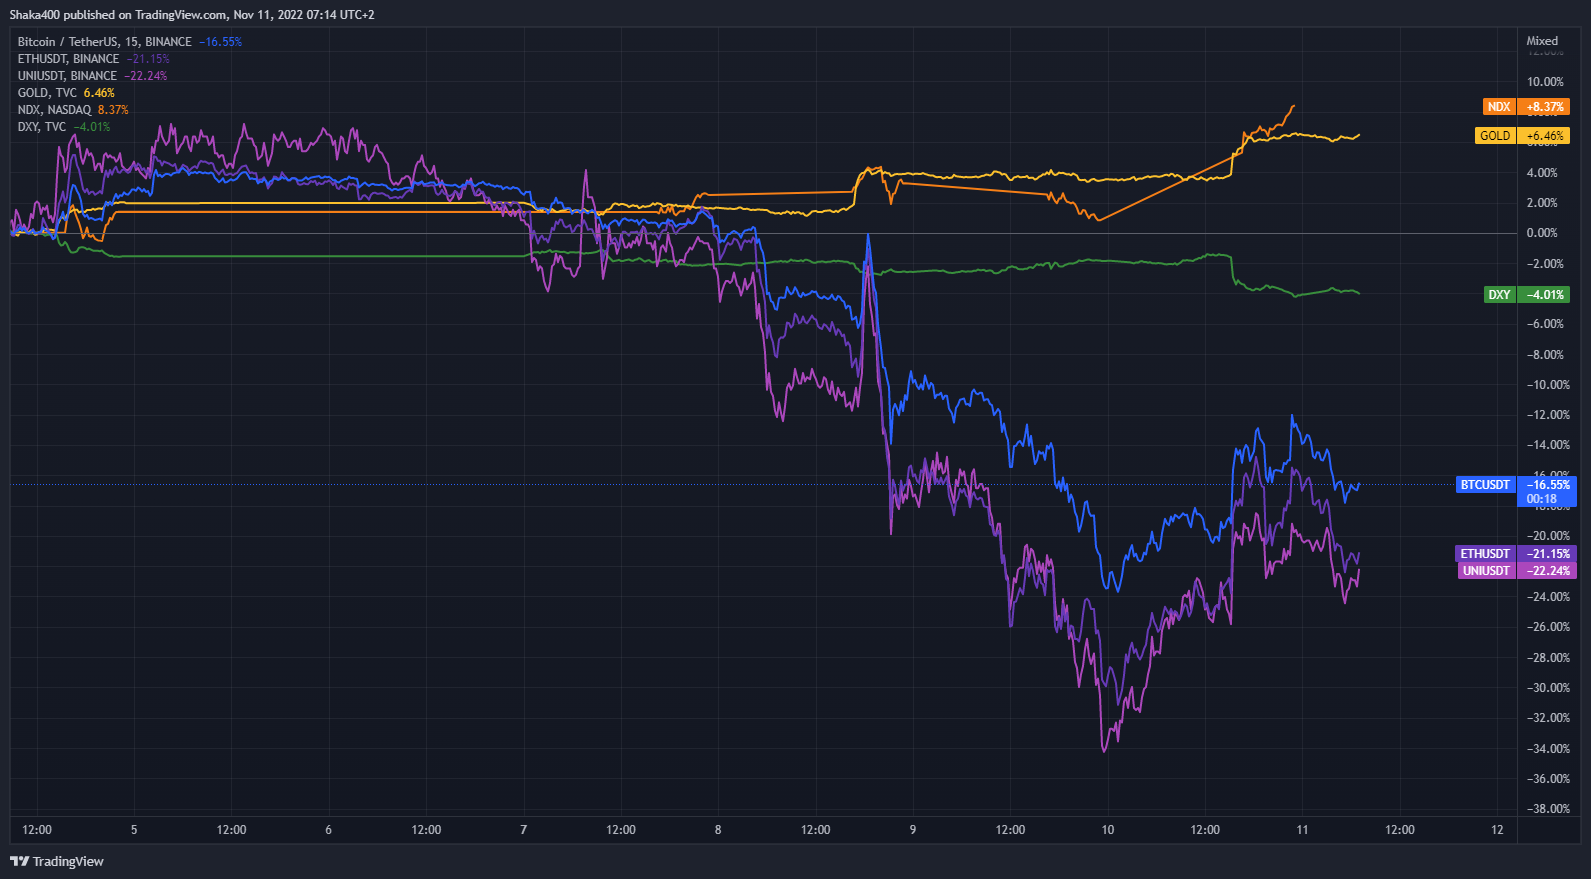
Timing matters in my diversified portfolios; bridge during off-peak hours when ETH gas dips below 20 gwei to slash costs. With Ethereum at $2,280.07, even tiny fees add up in bulk operations, but for beginners, a test deposit under $100 keeps risks minimal while proving the arbitrum metamask setup works end-to-end.
Step 3: Bridge ETH to Fund Arbitrum Wallet
Bridge ETH to Arbitrum One: Quick Visual Walkthrough
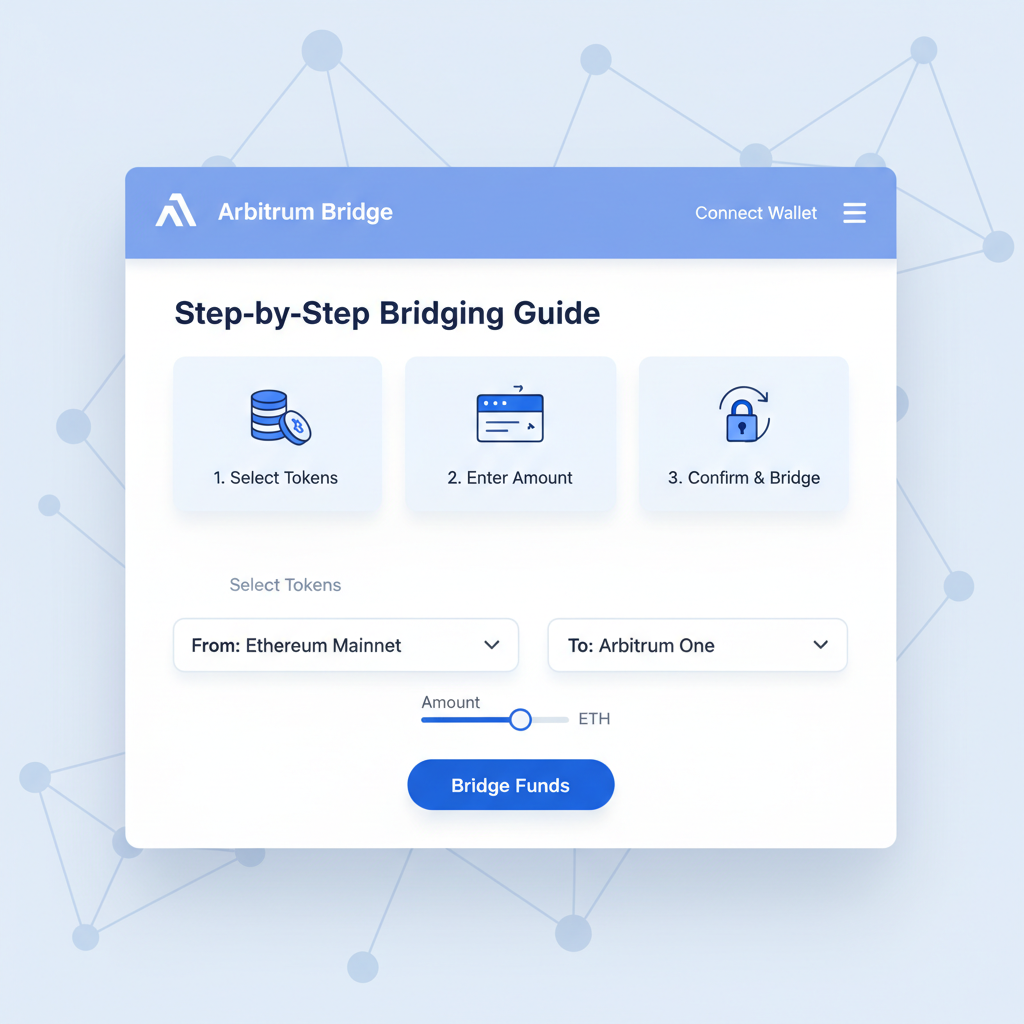
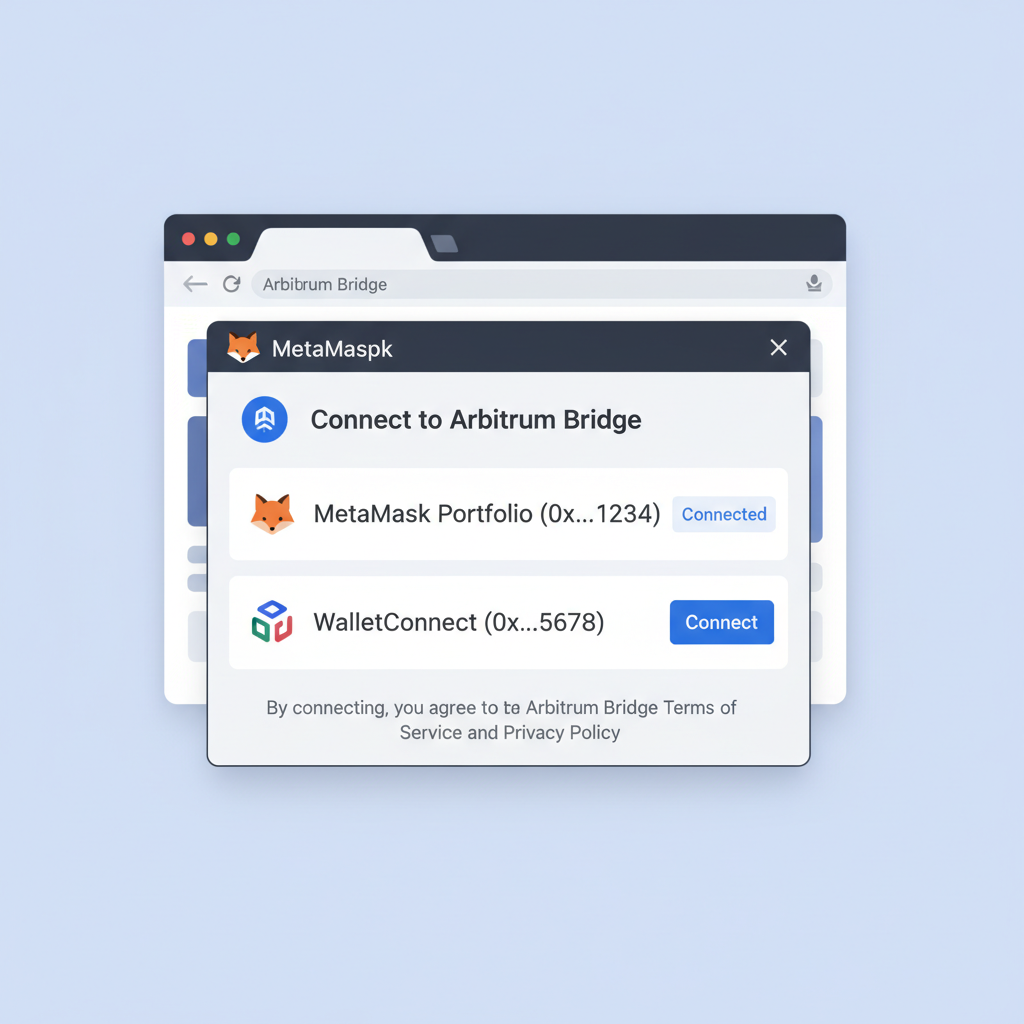
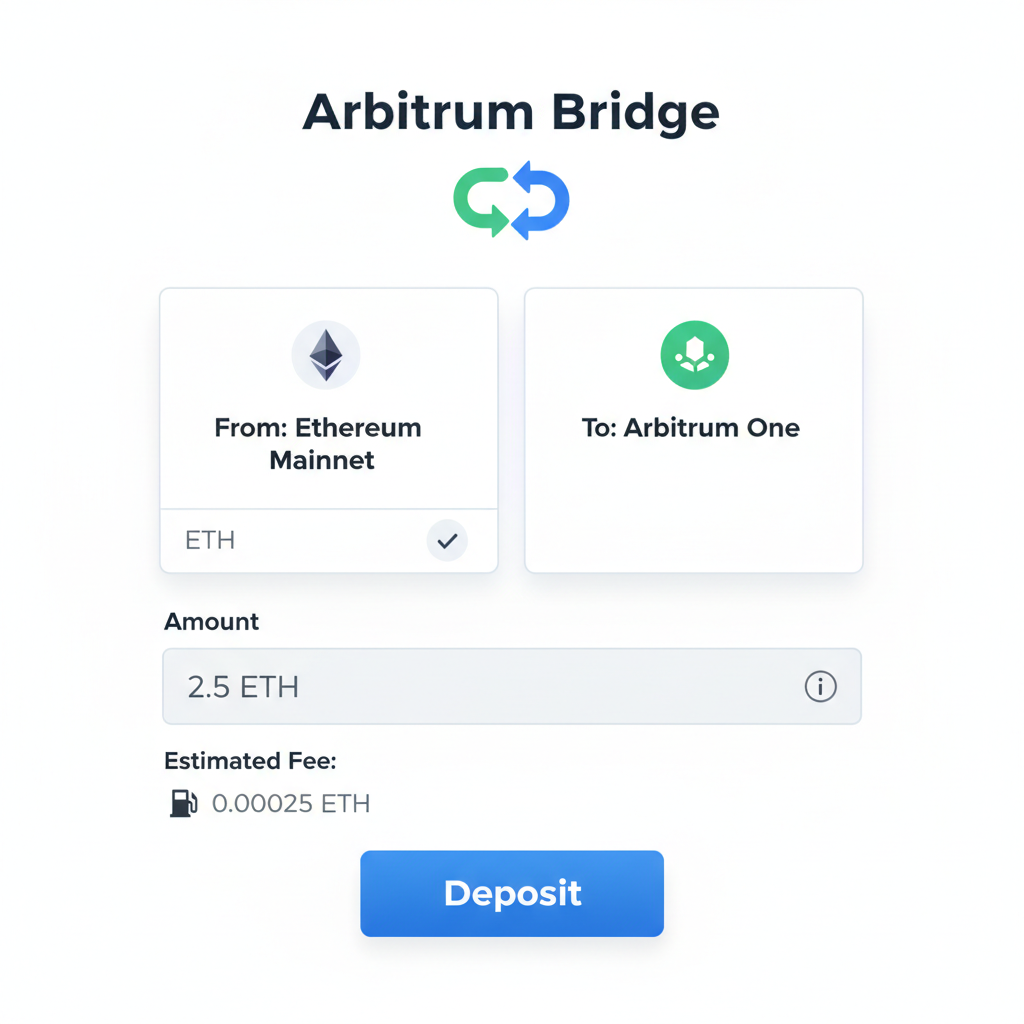
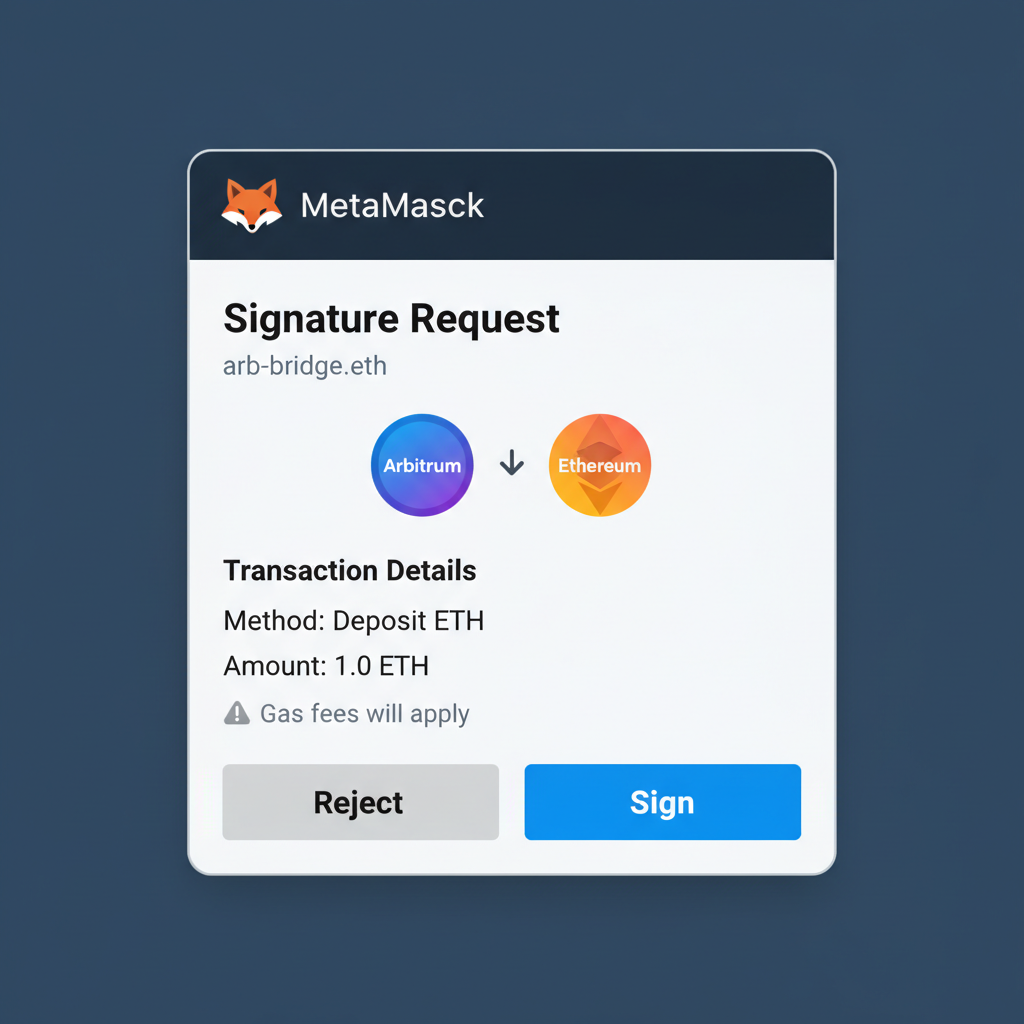
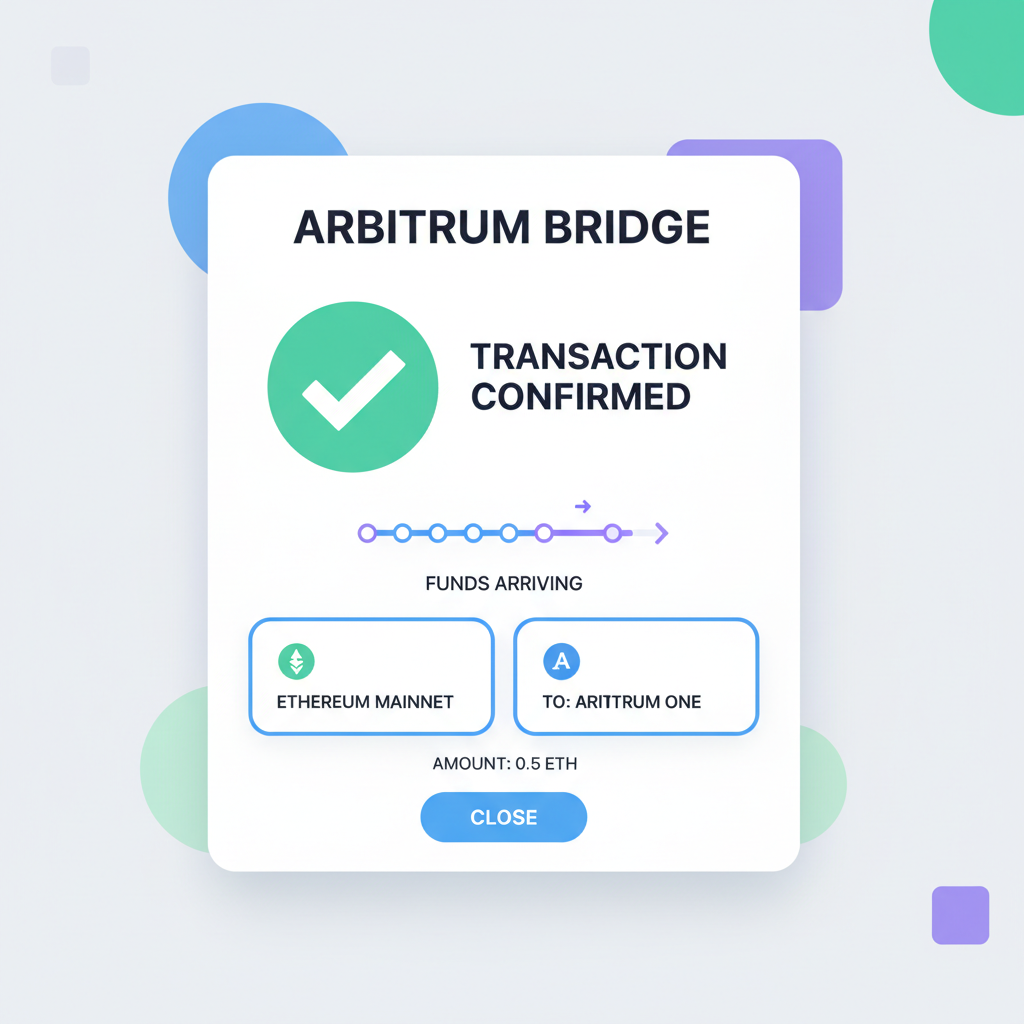
Let's break it down precisely: navigate to bridge. arbitrum. io, ensure MetaMask is on Ethereum mainnet, click "Connect Wallet, " select MetaMask, and choose deposit tab. Pick ETH (or approved ERC20s like USDC), input amount, review fees, approve, then deposit. Sit tight for that 10-minute window; impatience leads to double-spends. My macro lens spots patterns: post-halving cycles amplify L2 demand, making bridges busier, so monitor via Dune Analytics dashboards if you're scaling up.
Funded? You're primed for action, but verification seals the safe arbitrum wallet config. Skipping this invites silent failures, like balances not reflecting due to RPC glitches.
Step 4: Verify Setup and Test Transaction
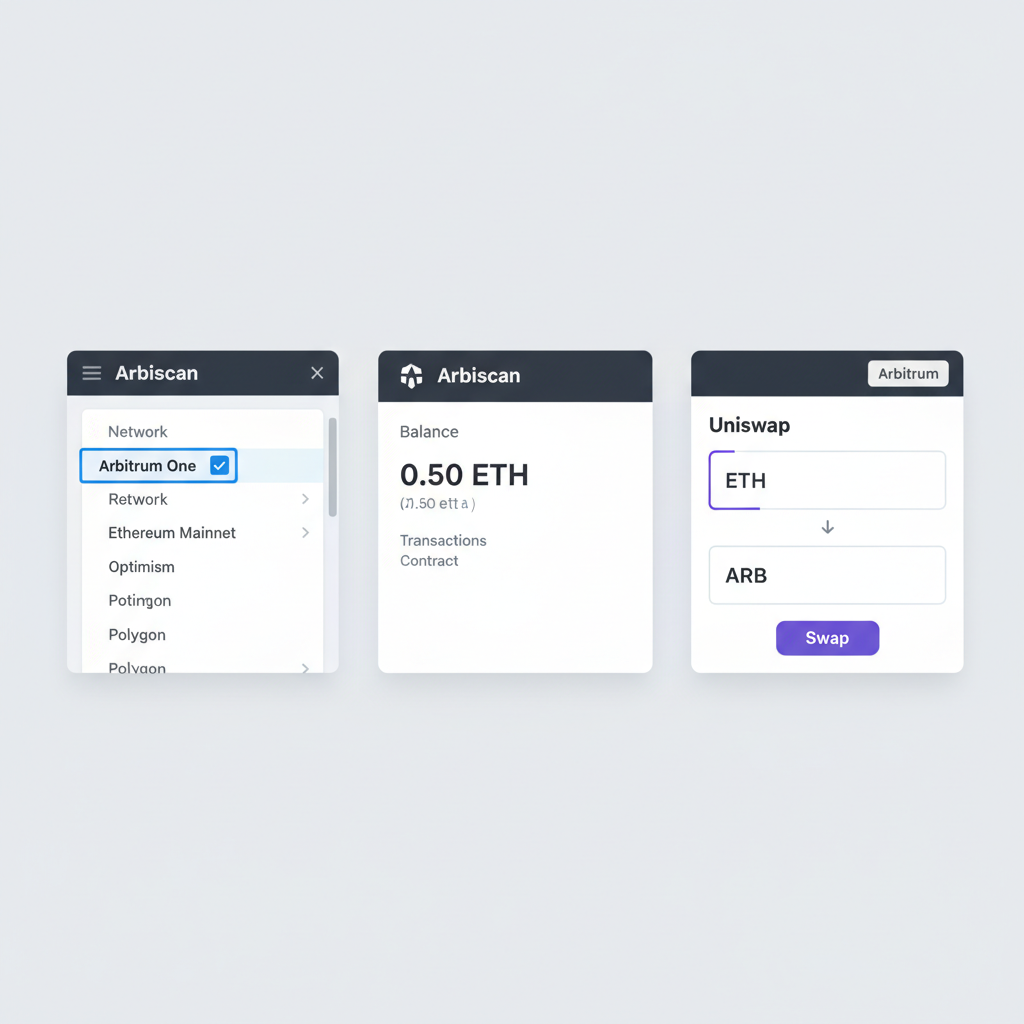
Switch MetaMask to Arbitrum One, copy your wallet address, and paste into arbiscan. io/explorer. Refresh; your bridged ETH should show under the ETH balance tab, confirming the transfer. No funds? Double-check bridge status or retry connection. This explorer check is non-negotiable in my workflows, catching 99% of config issues before they bite.
Seal the deal with a live test: head to Uniswap's Arbitrum interface (app. uniswap. org, auto-switches networks), connect MetaMask, swap a tiny amount like $5 ETH to USDC. Approve if needed, confirm the swap (fees pennies), and verify receipt on Arbiscan. Success means your setup handles real dApp interactions flawlessly. I've tested this across bull runs; it builds confidence for bigger plays like liquidity provision or ARB staking.
Pat yourself on the back, you've nailed arbitrum one rpc add and full arbitrum metamask setup. Arbitrum's edge shines in volatility; while ETH dances between $2,115.33 and $2,351.34 daily, L2 keeps your trades cheap and swift. From here, explore GMX for perps or Aave for lending, always starting small. Diversify wisely, back up often, and watch your portfolio thrive amid the chaos.

No comments yet. Be the first to share your thoughts!