
In the fast-evolving world of decentralized finance as of March 2026, Layer 2 networks like Arbitrum and Optimism have become essential for beginners seeking low-cost, high-speed transactions without sacrificing Ethereum's security. Yet, the gateway to these efficiencies starts with a secure crypto wallet setup. Many newcomers rush this step, exposing themselves to phishing scams or lost funds, but a methodical approach ensures your assets thrive in L2 environments. Drawing from my 12 years analyzing blockchain fundamentals, I'll guide you through the critical first steps of crypto wallet setup for beginners, emphasizing non-custodial options that empower self-sovereignty over speculative gains.
Why Prioritize Security in Layer 2 Onboarding Now
Layer 2 solutions scale Ethereum by processing transactions off-mainnet, slashing fees from dollars to cents while maintaining robust security through rollups. However, this shift amplifies wallet vulnerabilities: bridges between L1 and L2 are prime hacking targets, and dApps on these chains often demand direct wallet interactions. Recent data shows over 70% of crypto losses stem from poor wallet hygiene, not protocol flaws. As a CFA charterholder who's seen bull runs wipe out unprepared portfolios, I advocate starting with wallets that natively support L2 networks. This isn't just technical setup; it's foundational risk management for sustainable DeFi participation.
Hot wallets like browser extensions suit daily L2 bridging, but pair them with cold storage for holdings above $1,000. The analytical edge? Wallets with built-in L2 RPC endpoints reduce manual errors, a common pitfall for beginners tackling Layer 2 onboarding guides.
Picking the Optimal Wallet for L2 Networks
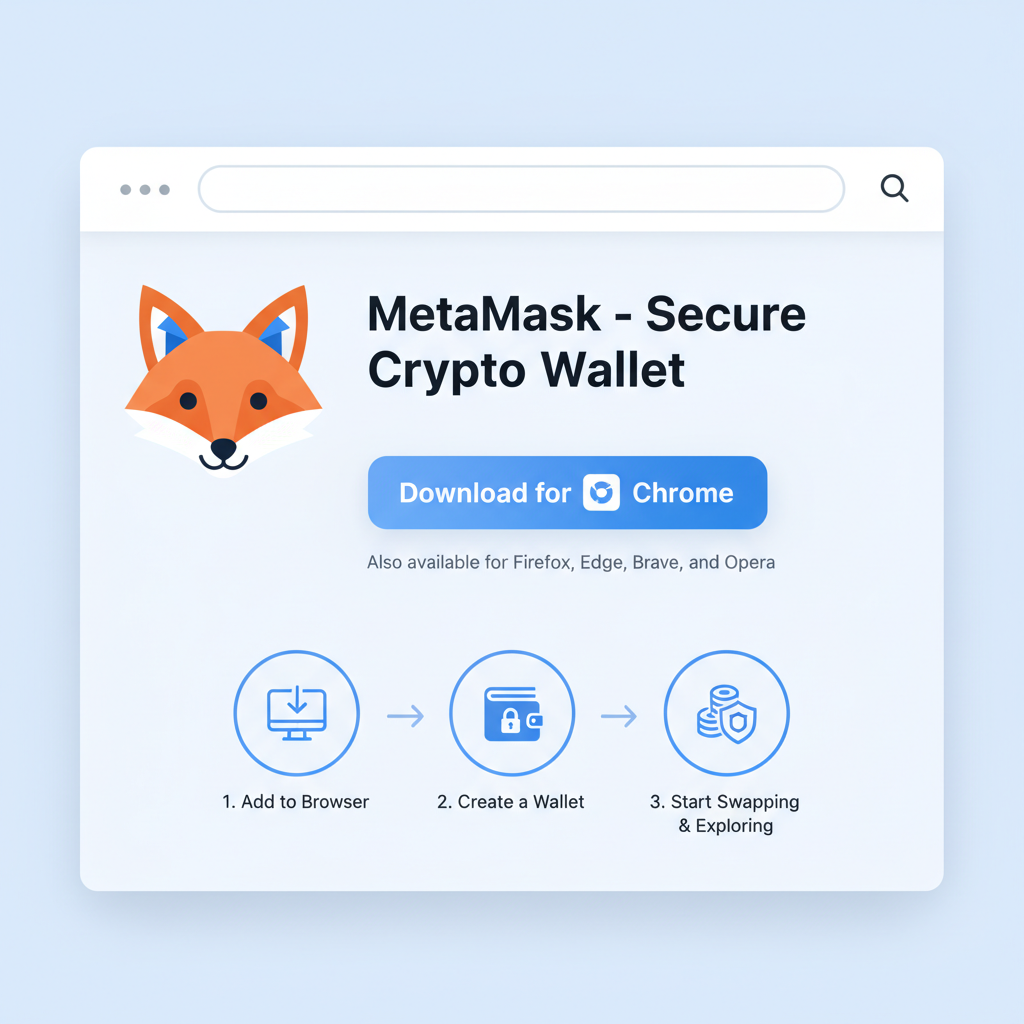
Compatibility trumps hype when choosing a wallet for secure wallet configuration L2. MetaMask reigns supreme for its Ethereum and L2 support across Arbitrum, Optimism, and zkSync, available as browser extension or mobile app. Its non-custodial nature means you control keys, aligning with my philosophy of steady wealth building. Coinbase Wallet offers a gentler curve for absolute novices, integrating seamlessly if you're already in their ecosystem, though it lags in advanced L2 customizations.
Avoid custodial exchanges for L2 work; they gatekeep bridges and expose you to platform risks. Opinionated take: Uniswap Wallet edges out for its pre-configured Optimism and Arbitrum swaps, ideal for token management without RPC tinkering. Hardware like Ledger Nano X integrates via MetaMask for offline key storage, mandatory for serious positions.
Analyze your needs: frequent traders favor mobile-first apps; HODLers, hardware hybrids. This selection sets the stage for frictionless beginner L2 networks tutorial execution.
Step-by-Step Secure Wallet Initialization
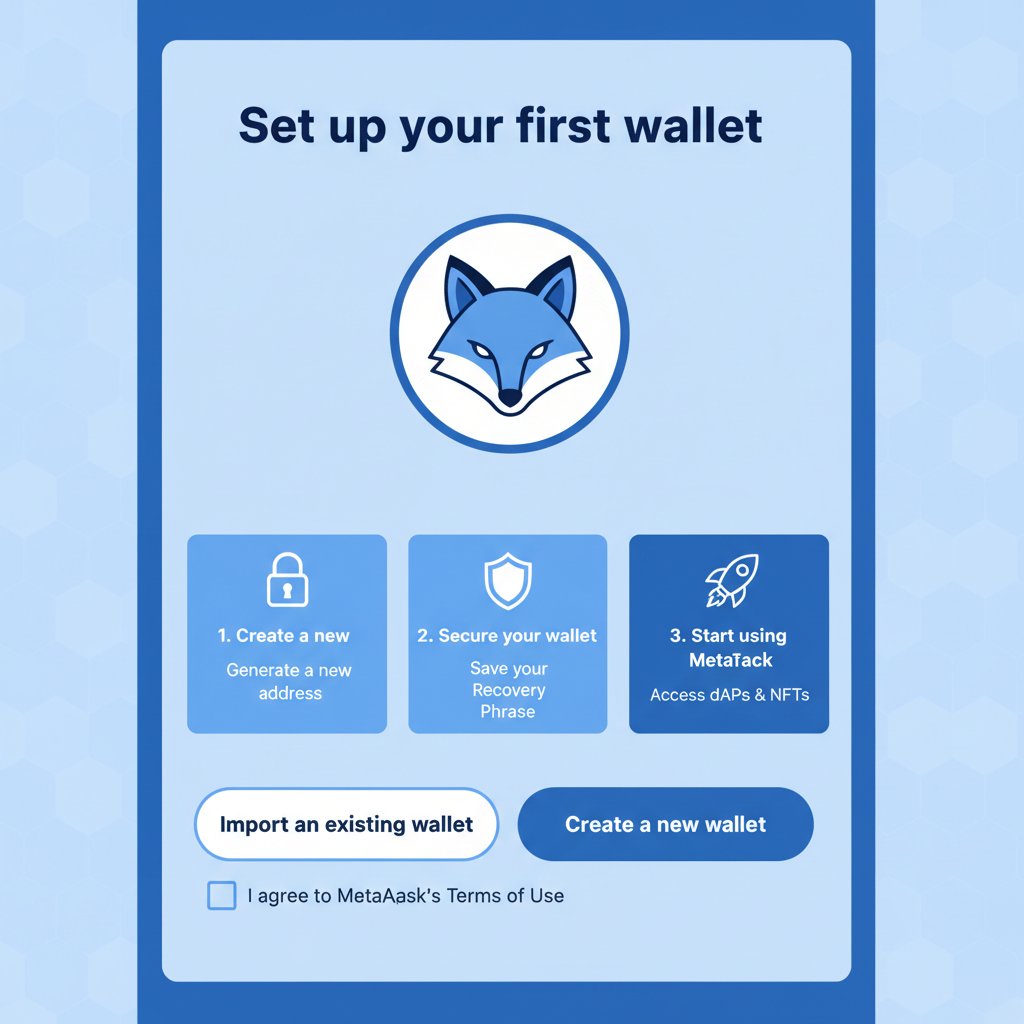
With wallet selected, initialization demands precision to fortify against 2026 threats like AI-phishing. Download from official sites only, MetaMask from metamask. io, never third-party links. Create a new wallet, bypassing imports unless recovering known assets.
Secure MetaMask Setup: Essential Steps for L2 Onboarding in 2026
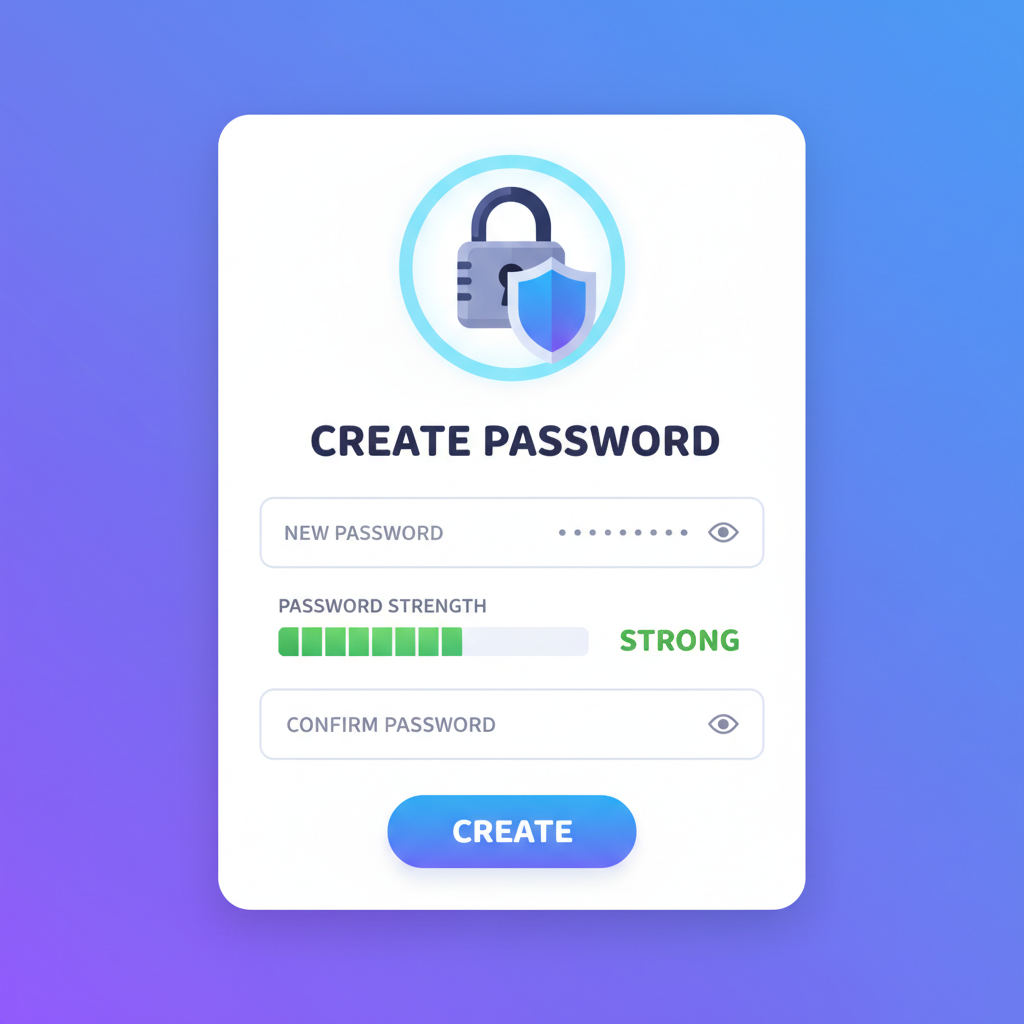
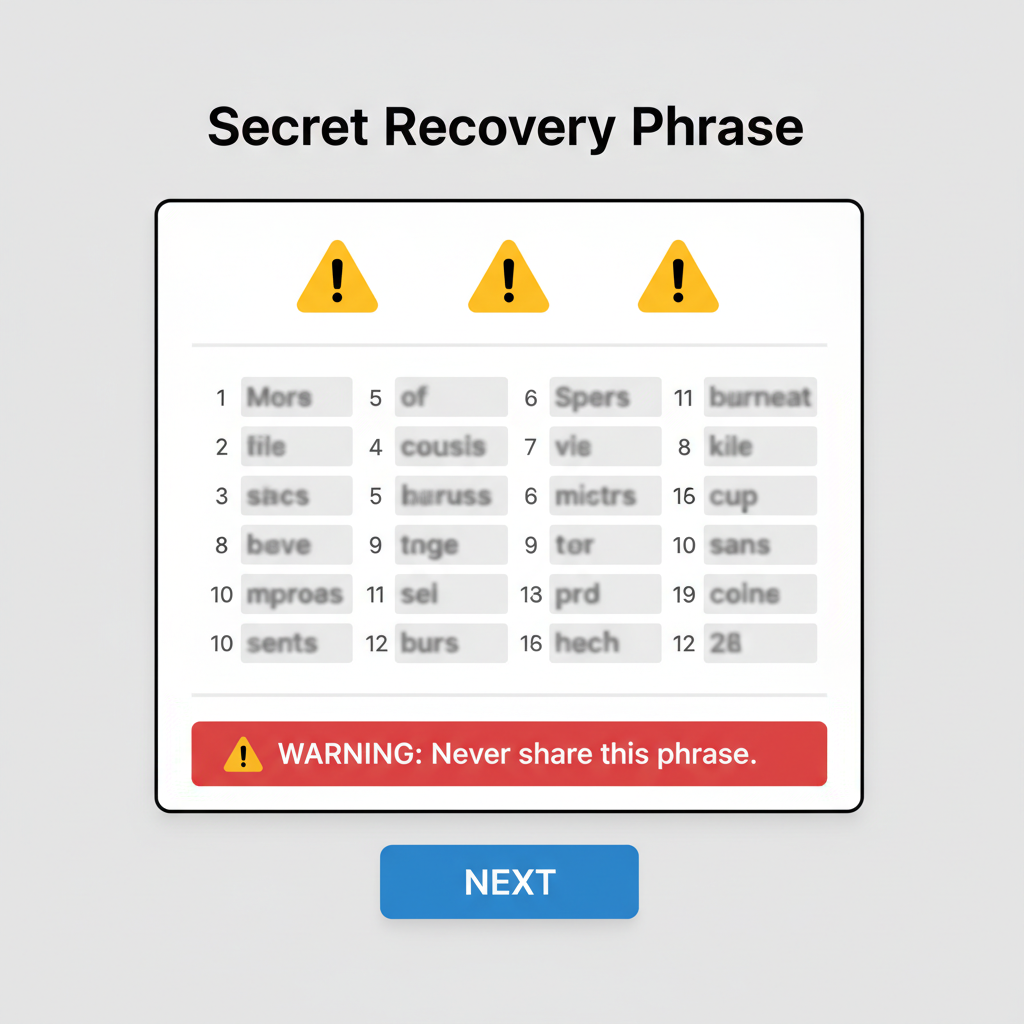
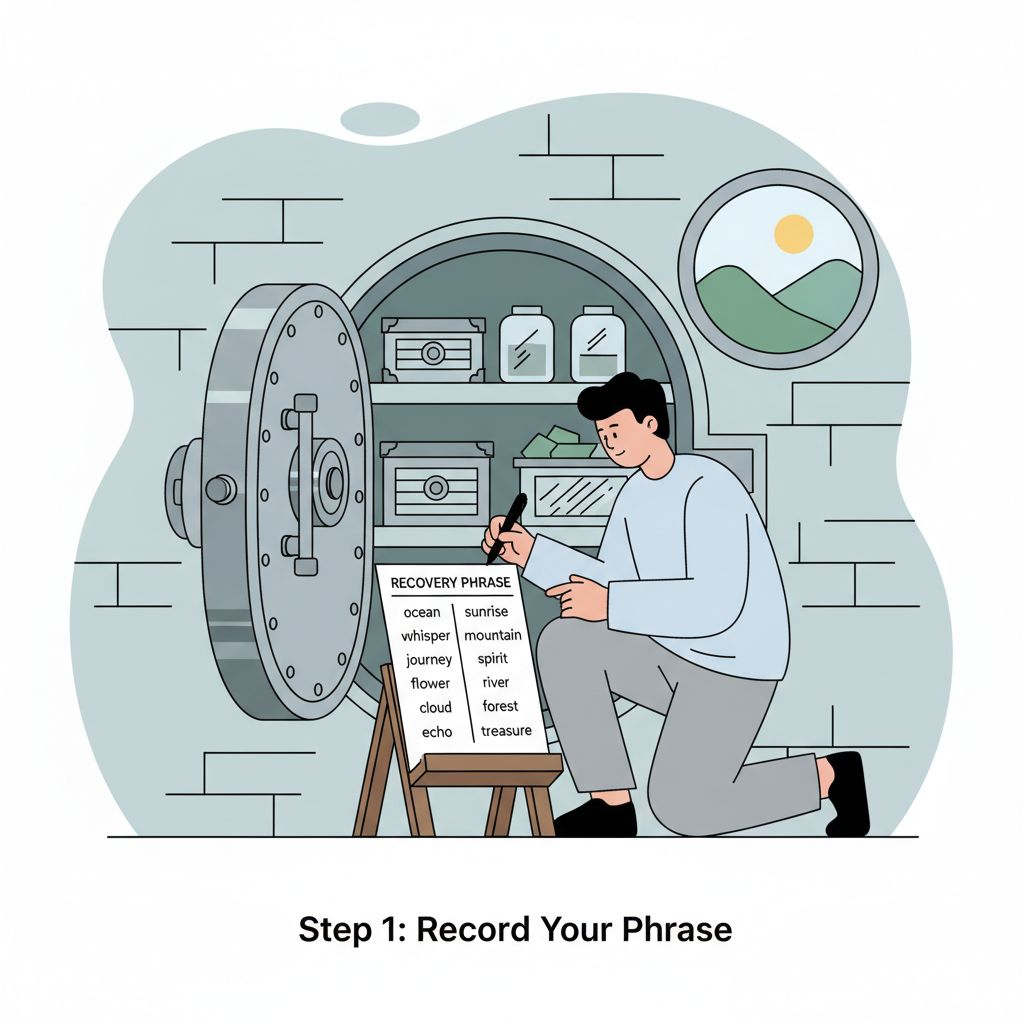
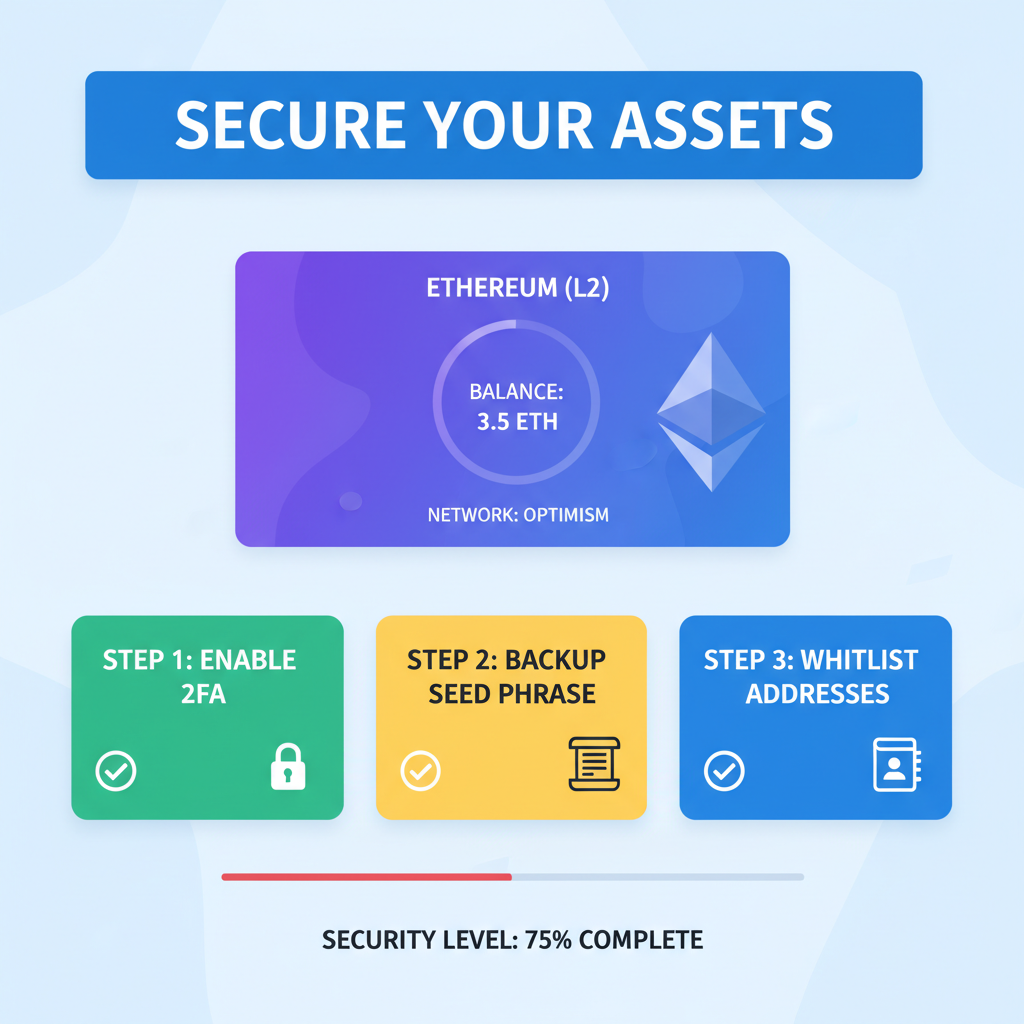
Upon generation, a 12- or 24-word recovery phrase appears. This is your lifeline; etch it on metal or paper, store offline in split locations, never digitally or shared. Enable 2FA via authenticator apps, not SMS, for phishing resistance. Craft a passphrase exceeding 20 characters, blending symbols and unrelated words.
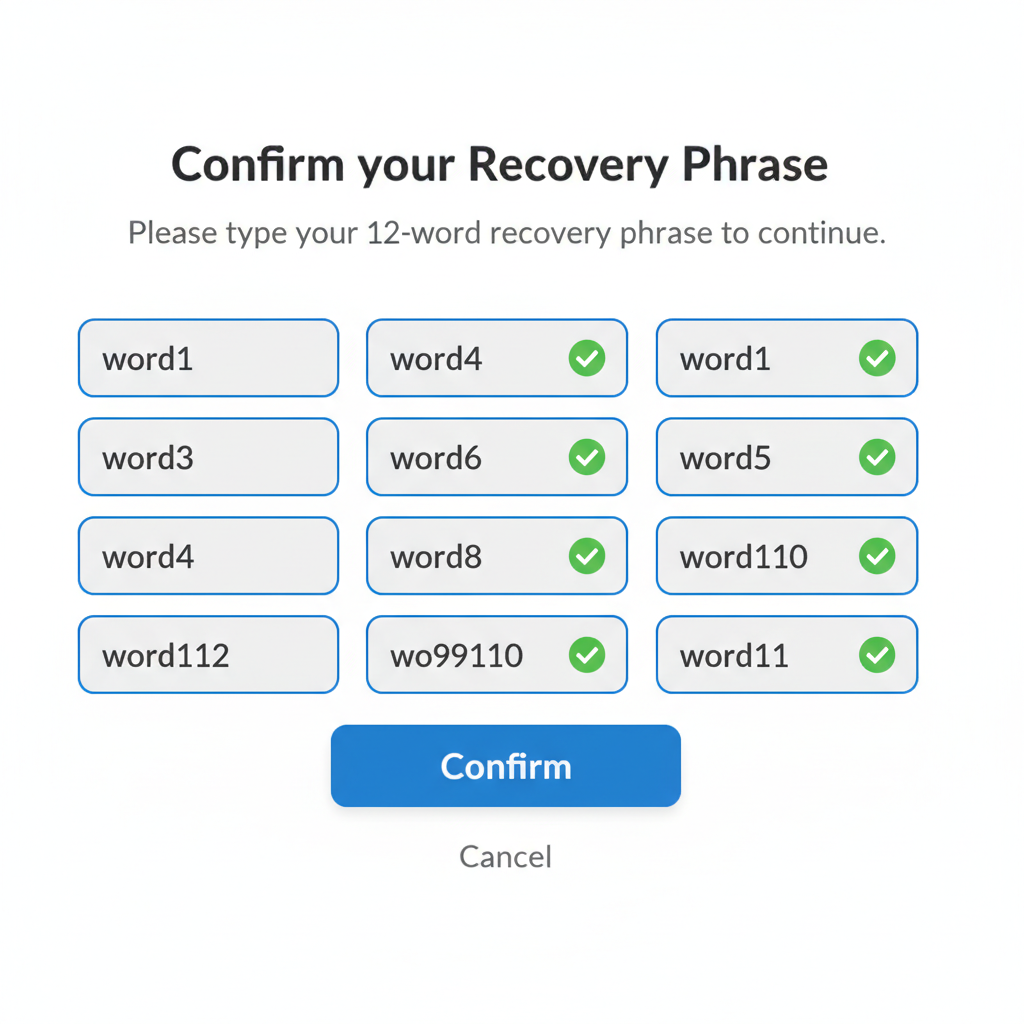
Test recovery on a secondary device before funding. Analytically, this mirrors enterprise-grade key management, reducing single-point failures by 90%. Next, verify wallet address on explorers like Etherscan to confirm no pre-existing activity, a subtle hack indicator.
Configuring Your Wallet for Layer 2 Access
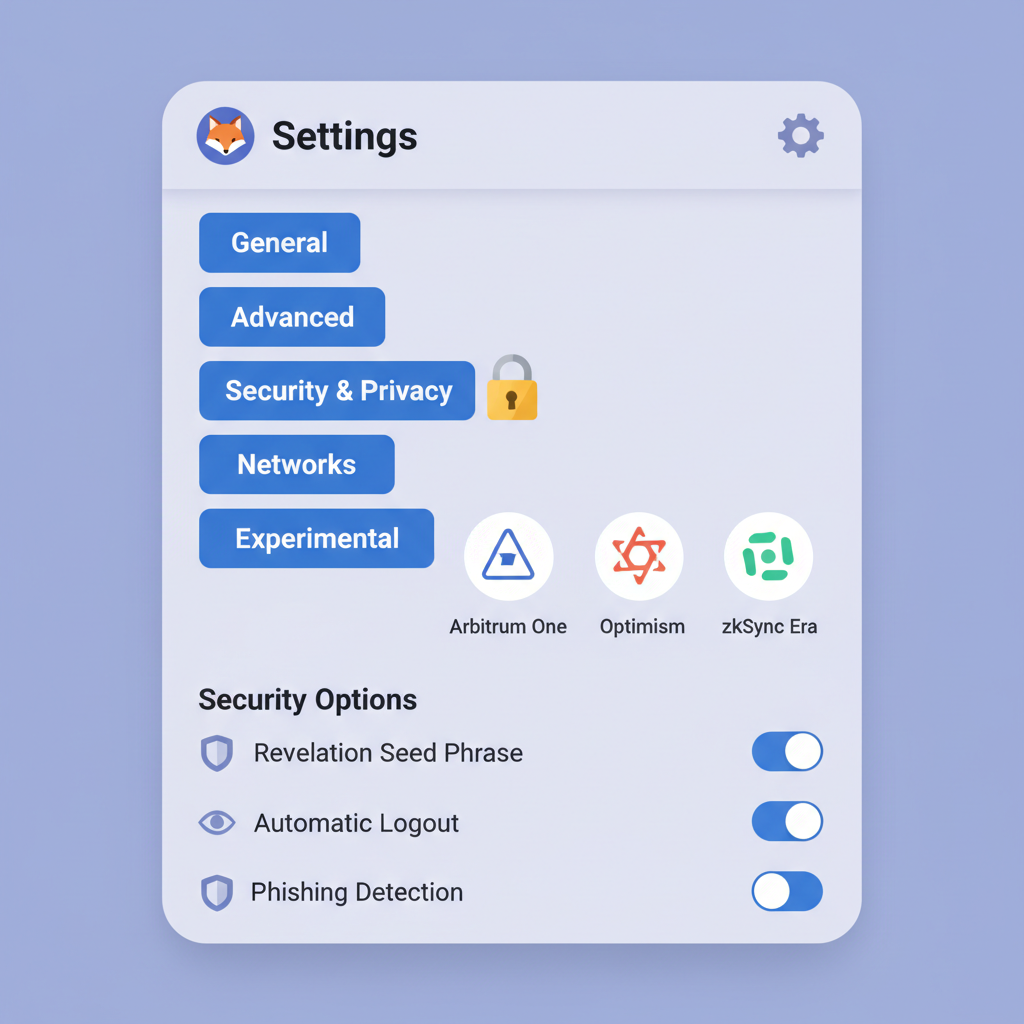
Default Ethereum mainnet won't cut it for L2. In MetaMask, dropdown to 'Add Network, ' input RPC URLs from official docs, Arbitrum: rpc. arbitrum. io; Optimism: rpc. optimism. io. Chain ID and currency symbols follow suit. Built-in support in wallets like OKX simplifies, but manual adds build understanding.
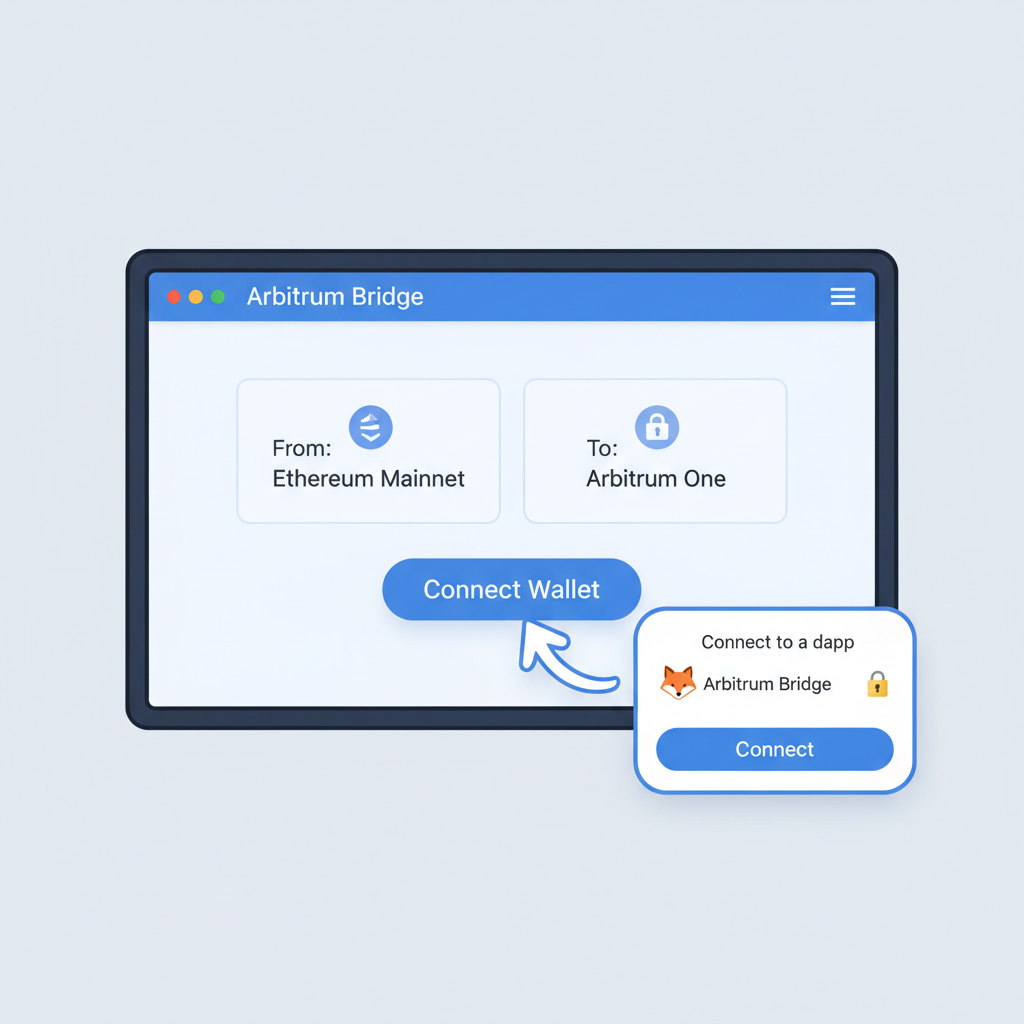
Bridges await funding: official portals like Arbitrum Bridge demand gas on L1 first. Start small, $50 ETH, to test. Vigilance here prevents over-bridging exploits, a persistent L2 pain point I've analyzed across cycles.
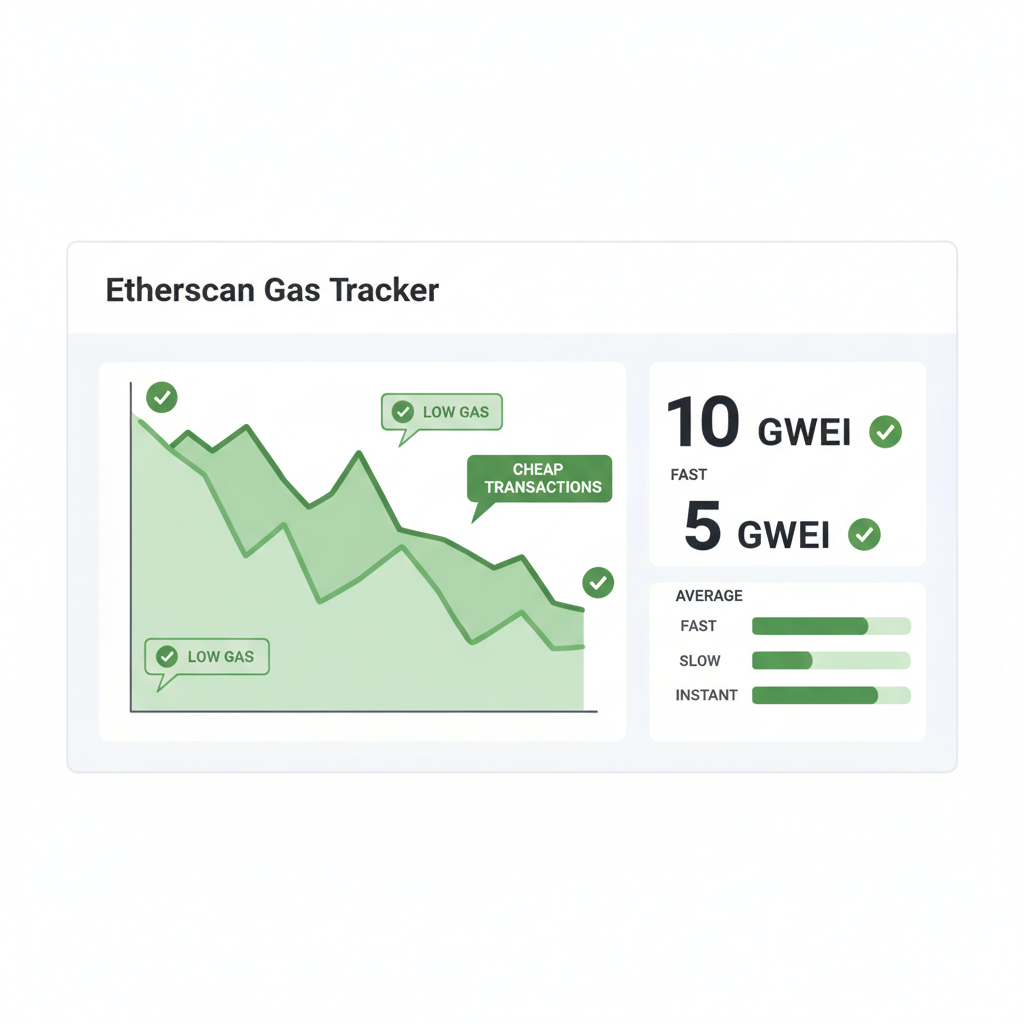
Once configured, bridging assets from Ethereum mainnet to L2 demands patience and precision, as gas fees, though reduced on L2, spike on L1 during congestion. I recommend monitoring Etherscan for real-time gas prices before initiating; anything over 50 gwei warrants waiting. This analytical discipline separates sustainable users from those burned by impatience.
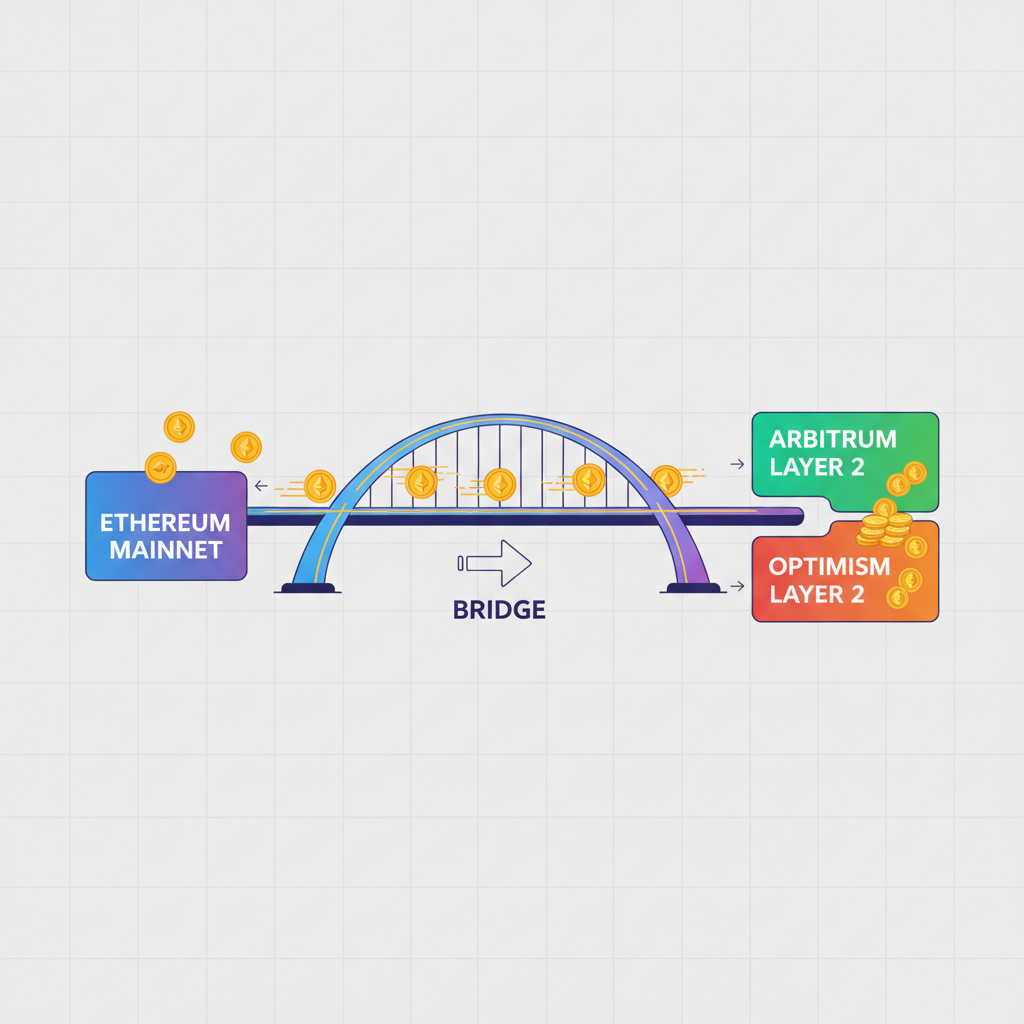
Mastering the Bridge: Funding Your L2 Wallet Securely
Bridges like the Arbitrum or Optimism official portals act as tollbooths between chains. Acquire ETH on a trusted exchange, withdraw to your mainnet wallet address, confirming the first four and last six characters match to dodge copy-paste errors. With L1 funded, navigate to the bridge interface via bookmark, not search results vulnerable to phishing.
Step-by-Step Guide to Bridging ETH to Arbitrum or Optimism Securely
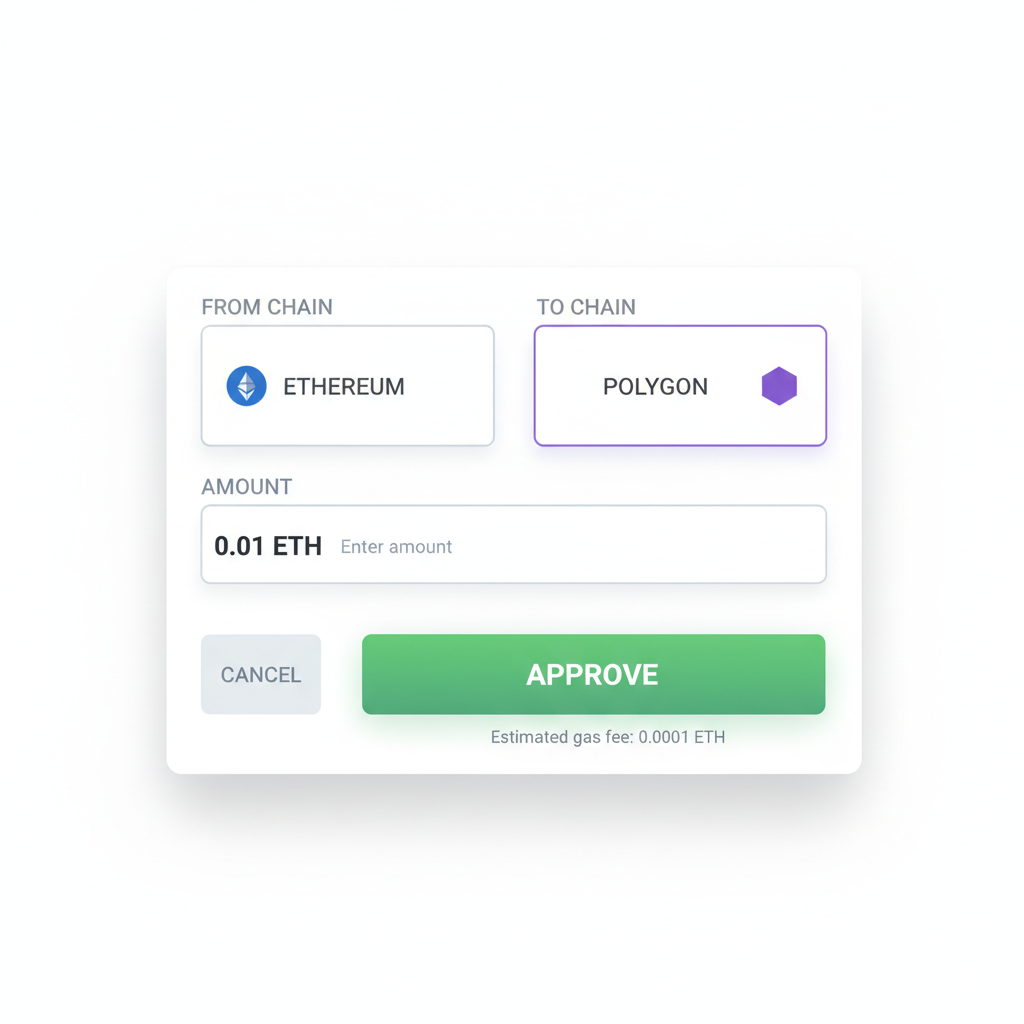
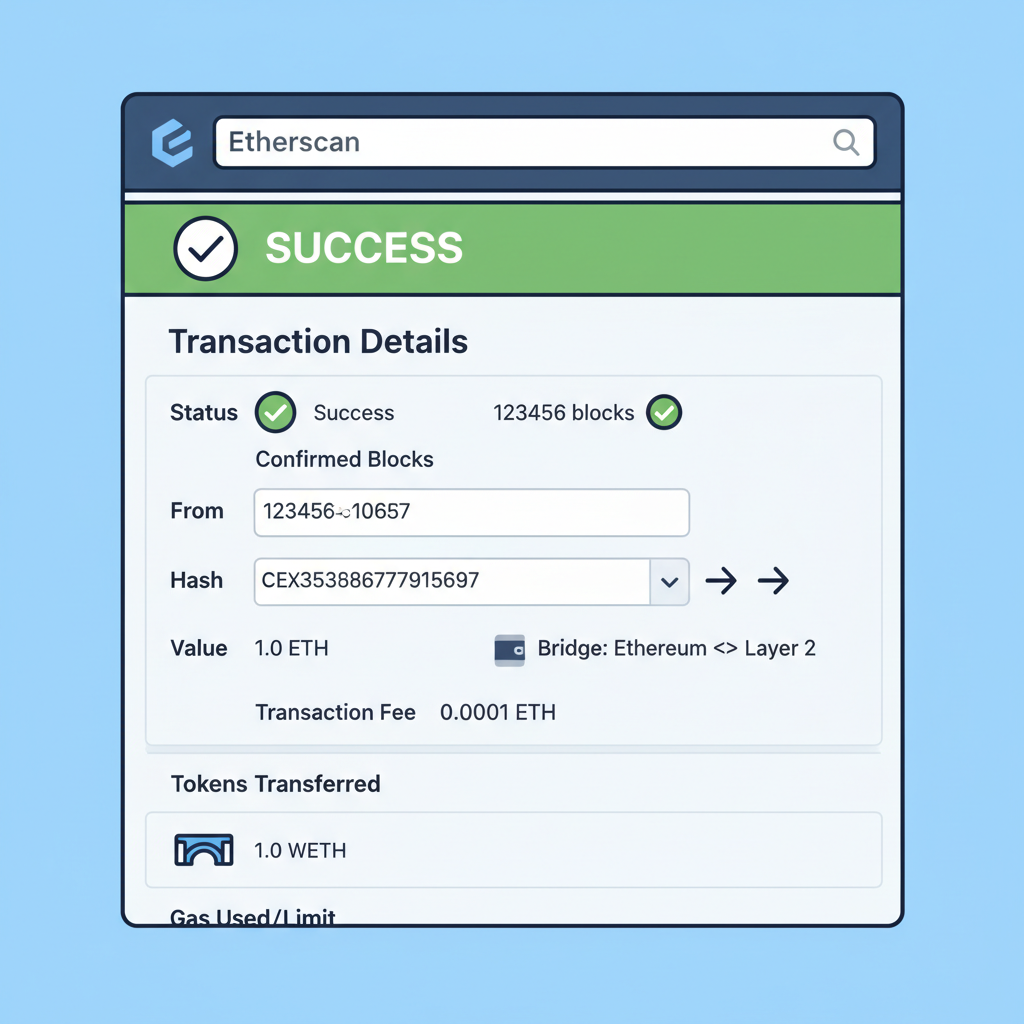
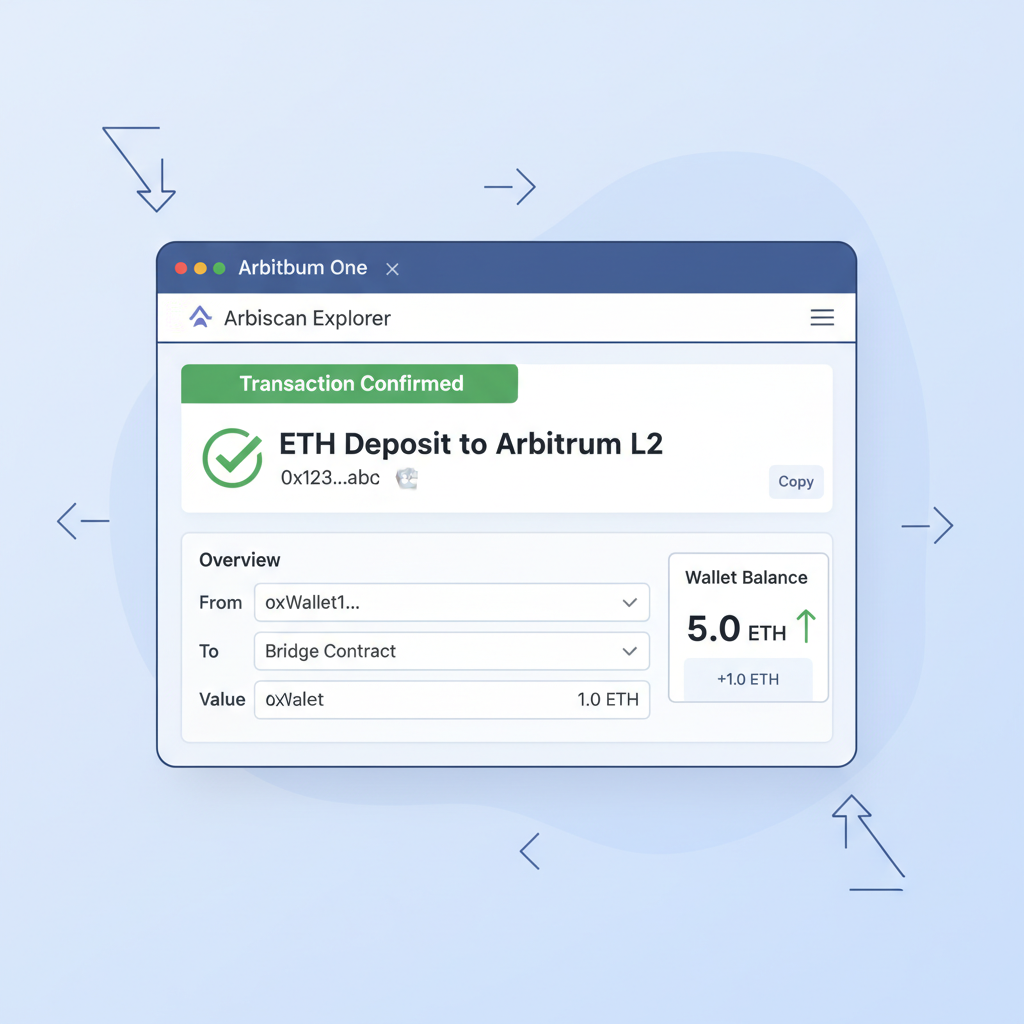
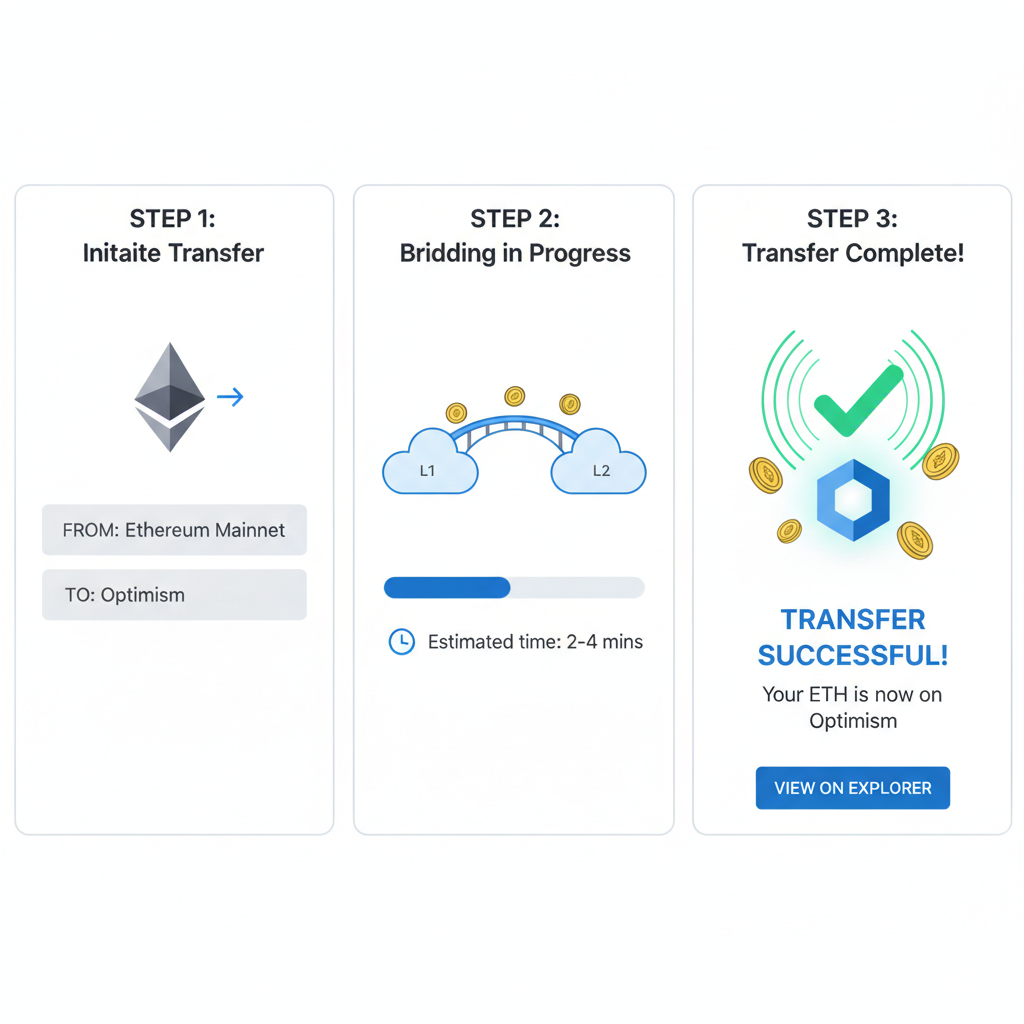
Deposit a modest amount first, say 0.01 ETH, approve the transaction, then claim on L2 after finality, typically 10-30 minutes. Verify receipt on L2 explorers like Arbiscan. Scale up only post-success; this iterative testing mirrors my fundamental analysis approach, minimizing downside in volatile setups. Opinion: Skip unofficial bridges; their smart contract audits often lag, inviting exploits I've flagged in past cycles.
Post-bridge, swap for L2-native tokens if needed via Uniswap or Velodrome, but audit contracts first. Your crypto onboarding checklist 2026 now includes liquidity checks, ensuring you avoid impermanent loss traps common in beginner Layer 2 onboarding guides.
Advanced Security Layers for Everyday L2 Use
Beyond basics, layer defenses with multi-signature setups for high-value wallets or sub-accounts segregating L2 play money from core holdings. Enable transaction simulations in MetaMask to preview dApp calls, catching malicious approvals before execution. Regularly rotate recovery phrases? No; that's overkill and risky. Instead, audit connected dApps monthly, revoking permissions via tools like Revoke. cash.
Phishing evolves with deepfakes in 2026; train skepticism by hovering links, expecting chaos-engineered domains. Public Wi-Fi? VPN mandatory. Analytically, these habits compound security like dollar-cost averaging builds wealth, turning probabilistic threats into negligible risks.
Hot vs. cold storage merits nuance: daily L2 swaps favor hot wallets under $500 exposure; anything larger demands Ledger bridging. I've counseled clients through recoveries; the pattern? Neglected updates exposing zero-days. Automate notifications for patches, treating your wallet like a portfolio under constant review.
Pitfalls to Sidestep in Beginner L2 Journeys
Newcomers chase airdrops, signing risky attestations that drain wallets. My take: Verify every signature request; if unclear, deny. Seed phrase scams via fake support chats proliferate; legitimate teams never ask. Over-reliance on mobile apps invites SIM swaps; desktop extensions with hardware yield better ergonomics for analytical users.
Another trap: ignoring sequencer downtimes on L2s, forcing withdrawals back to L1 at premium gas. Track status pages religiously. By internalizing these, your secure wallet configuration L2 evolves from setup to fortress, primed for DeFi yields without sleepless nights.
Hardware integration elevates further: Connect Ledger to MetaMask, blind-signing disabled for L2 txns. Test with dust amounts quarterly. This regimen, honed over bull and bear markets, positions you for 2026's maturing ecosystem, where L2 dominates 80% of Ethereum volume. Beginners mastering these steps unlock efficient, low-fee trading, staking, and lending, building steadily amid speculation's noise.
Embrace this process as iterative mastery. Your first L2 transaction, secured meticulously, begets confidence for deeper DeFi waters. With discipline over haste, wallets become wealth engines, not liabilities.

No comments yet. Be the first to share your thoughts!