
Hey there, it's Jennifer Martinez, your go-to guide for smart crypto moves. With Ethereum trading at $2,253.06 after a 24-hour dip of $38.49 or -1.68%, many folks are eyeing Layer 2 solutions like Optimism to slash those hefty gas fees. If you're new to this, bridging to Optimism L2 from Ethereum mainnet unlocks faster, cheaper transactions without sacrificing security. I've managed portfolios heavy on L2 exposure for a decade now, and this Optimism L2 bridge step is a staple for efficient Ethereum to Optimism onboarding. Let's dive into the beginner essentials so you can thrive in this volatile market.
Why Optimism Stands Out in Ethereum's Scaling Landscape
Optimism isn't just another L2; it's Ethereum's workhorse for real-world DeFi and apps. Picture this: L1 fees spiking while Optimism keeps costs under a penny per swap. Recent docs from Optimism highlight seamless ERC-20 bridging with tools like viem, and third-party options like Stargate add flexibility. But for beginners, stick to the official path to minimize risks. I've seen too many rushed bridges lead to stuck funds, so this beginner L2 bridging guide emphasizes security first. Current market vibes? ETH's holding above $2,115.33 lows, signaling stability perfect for testing L2 waters.
Bridging basics boil down to moving ETH or tokens via the OptimismPortal contract. Tutorials from Chainstack and NiftyKit stress wallet prep and confirmation waits, aligning perfectly with what we'll cover. Diversify early: get on L2 to access low-cost protocols that boost your portfolio's edge.

Building Your Optimism Wallet Checklist Foundation
Before any bridge, nail the setup. Our Optimism wallet checklist starts with the right tools. Security is non-negotiable in crypto; I've advised clients through hacks that could've been avoided with basics. Here's where most beginners trip up, but you're about to ace it.
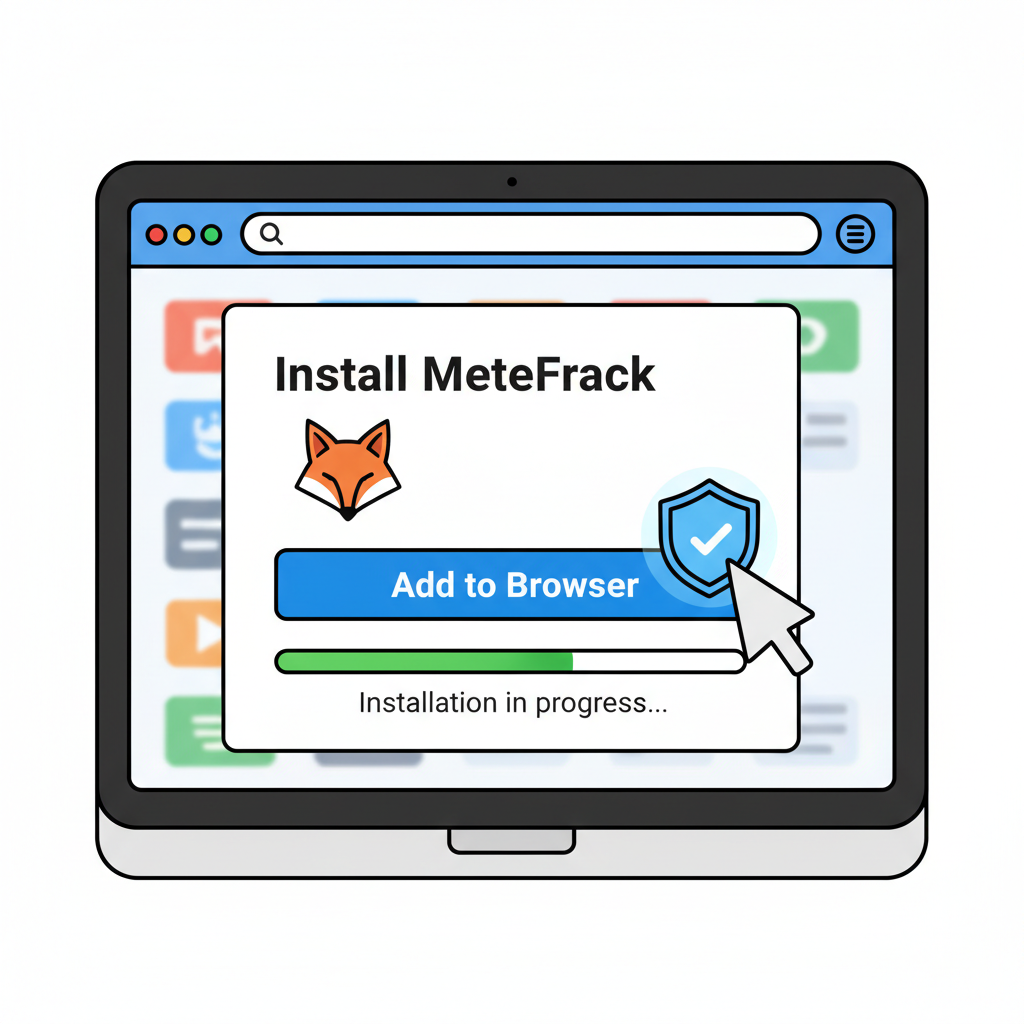
Step 1: Install and secure a compatible wallet like MetaMask, with hardware wallet integration recommended. MetaMask's multi-chain support shines here, but pair it with Ledger or Trezor for that extra layer. Why? Phishing attacks target software wallets daily. Set up a new one if needed, back up your seed phrase offline, and enable two-factor where possible.
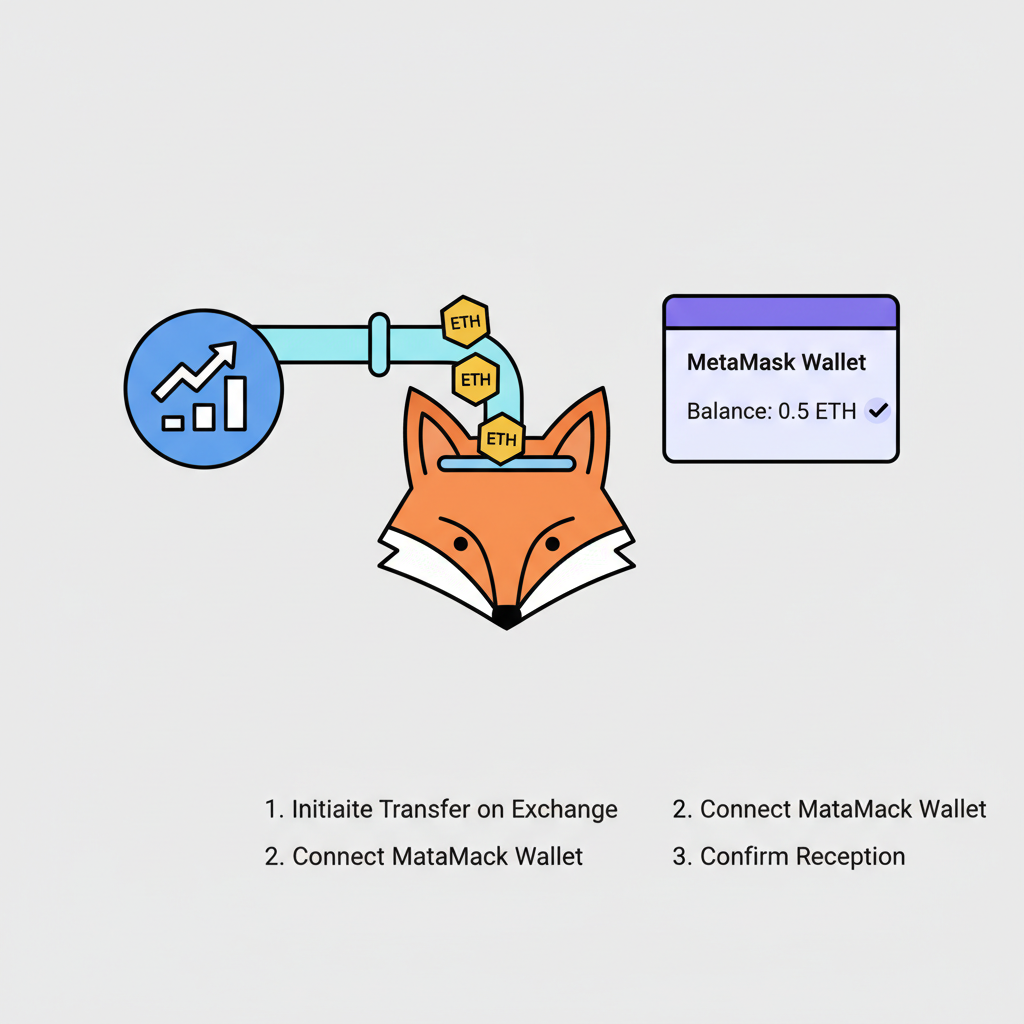
Step 2: Fund your Ethereum mainnet wallet with sufficient ETH for L1 gas fees (at least 0.01 ETH extra). At $2,253.06 per ETH, that's pocket change for peace of mind. Gas can fluctuate, so check ethgasstation. info equivalents, but overestimate. I've burned funds on skimpy balances mid-tx; don't repeat my early mistakes.
Network Addition and Bridge Access Essentials
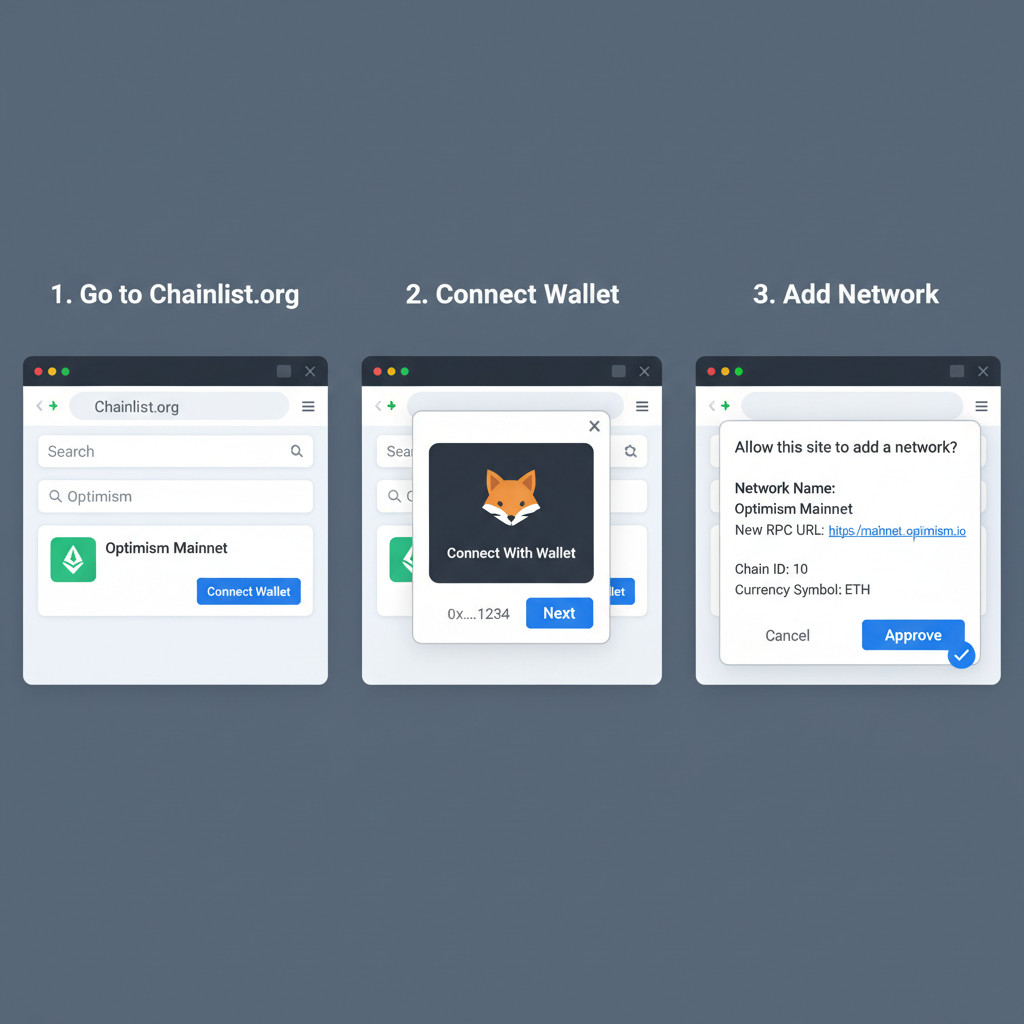
Step 3: Add the Optimism network to your wallet using Chainlist. org or official RPC: rpc. optimism. io. Chainlist simplifies this one-click wonder, pulling verified endpoints. Search 'Optimism', add it, and verify chain ID 10. This preps your wallet for L2 visibility post-bridge.
Now, Step 4: Visit the official Optimism Bridge at app. optimism. io/bridge/deposit. Bookmark this; it's the gold standard per Optimism docs. Avoid sketchy copycats. Once there, you're primed for connection. Gate. io's guides echo this: compatible assets only, like ETH or select ERC-20s.
First 4 Steps: Securely Bridge ETH to Optimism L2

These initial moves set a rock-solid base. Next up, we'll connect, select assets, and execute, but pause here to double-check your setup. With ETH at $2,253.06, timing feels right for this Optimism L2 bridge leap. Stay tuned as we tackle the transaction flow with real-world insights.

No comments yet. Be the first to share your thoughts!